Tuesday, July 12, 2011

Tasty, tasty brownies . . .

Maybe it's pregnancy, but as soon as I saw this brownie recipe on one of the cooking blogs I haunt, I couldn't stop thinking about it. And thinking about it. And, well, you get the idea . . .

Plus they use these fun new "StackerMallows" that we discovered. These marshmallows are intended for s'mores, but (if I do say so myself) we have become quite the s'mores connoisseures (ever since we put in a backyard firepit last year!), and these just aren't great for s'mores. Primarily because, how do you get them on a roasting stick? The package suggests you put together your grahams, marshmallows, and chocolate, then wrap the entire thing in a piece of foil to stick it on the grill or in the fire. But really, apart from satisfying a wintertime craving for smores (this would work in a toaster oven too I assume), who would pass up the toasty marshmallow exterior and risk a soggy graham with the tinfoil method??

Anyhoo, back to brownies . . .
I risked heating up the house to make these the other day and believe me, they did not disappoint. I especially liked the ooey, gooey frosting. I might have to make another batch soon. We took a couple to the neighbors and gobbled the rest up.
Here's the link so you can try them:
http://www.ourbestbites.com/2011/07/mississippi-mud-brownies/
Yum, yum, yum . . .

Sunday, June 19, 2011

Strawberries and Cake

Ahh . . . Strawberry season at last . . .


Strawberry picking is very popular around here. So when I got an email from my favorite local farm that their berries were ready, I planned an excursion for the following day. But woke up to drizzly rain. After some indecision, I decided to pull on my Wellies and go pick anyway. And I'm so glad I did! The berries were fantastic and me and my little helper had the fields practically to ourselves. We picked 11 pounds of berries in little over half an hour. I made 5 batches of freezer jam (which I of course forgot to take a photo of!), and a strawberry pie. YUM!
For Father's Day, I became a pastry chef. I test recipes for America's Test Kitchen (just an informal, non-paid, but very fun job . . . ). This recipe was for a pastry called "Paris-Brest Cake". Apparently this pastry was created in honor of a cycling race originally started in 1891. It is the longest running cycling event although it's no longer a race, just a ride.
There are two rings of cream puff-like shell. The larger one is cut in half, filled with a hazelnut-praline pastry cream, then the smaller ring is set inside. Just like a bicycle inner tube.

More delicious pastry cream, then the lid goes on and it is dusted with powdered sugar.


A very rich slice (can you see the "inner tube"?). A tasty dessert.


But, I am hanging up the pastry chef's hat. I just don't think the results justify the amount of time! This cake took a lot of work! The recipe was in 3 parts: a homemade hazelnut praline, a pastry cream, and of course the pastry shell.


So, kind of a fun novelty, but not one I'll make again soon.


BTW, I can't share the recipe as it's still in testing and not been published yet, but if you're interested, leave me a comment and when it's published I'll post it.

Saturday, June 11, 2011

Linguine with Tomato-Almond Pesto

This is another Smitten Kitchen success (one of my favorite foodie blogs, www.smittenkitchen.com). It's a great summer recipe: quick to make, doesn't heat up your house much, and is just as tasty served at room temperature. It's also vegetarian. I have a New Year's Resolution this year to prepare at least 2 vegetarian meals a week. Not because we're against meat, but because I am trying to get our family to eat more veggies and more healthy, lean meals.

A quick little toast on the almonds gives them fantastic flavor.
The pesto mixed in with some cooked linguine.

And ready to eat. Enjoy!

LINGUINE WITH TOMATO-ALMOND PESTO

3/4 c slivered almonds

1 large handful fresh basil leaves

1-2 large cloves garlic (I only used one so it wouldn't be too spicy for the kiddos)

several sprinkles sea or kosher salt

6 ripe plum tomatoes, quartered OR 2 small packages grape tomatoes

1/2 c grated Parmesan (I may or may not have added an extra 1/4 or so . . . just for good measure . . . )

1/4-1/3 c olive oil (I thought 1/4 was plenty)

1 pound linguine


In large skillet, saute the almonds in a little olive oil until toasted. Let cool, then blend in food processor until they are in coarse pieces. Scoop out of processor and set aside.

Put basil, garlic, and a few pinches of salt into processor and chop. Add the almonds back to the processor along with the tomatoes, cheese, and olive oil and process briefly. Season with ground black pepper.

Cook the linguine to al dente (according to package directions). Reserve 1 c of the pasta water before draining. Toss hot pasta with pesto and mix quickly. Add pasta water to loosen to your desired consistency. Serve lukewarm or at room temperature.

NOTE: this makes a LOT, I will halve it next time for our family of 4.

Monday, June 6, 2011

Mushroom Strudel

I am very sorry about the lack of a picture to go with this recipe! If you want to see what these look like, please go to www.smittenkitchen.com/2008/05/mushroom-streudels/.
That being said, the recipe is from one of my favorite cooking blogs, Smitten Kitchen, but I made a few changes and had a few things turn out a little differently.
I originally found this while searching for a tasty appetizer to take to a dinner we were invited to. I needed something to serve to someone who is lactose intolerant, and it was surprisingly difficult to find an appetizer that didn't have cheese! These call for Parmesan, but I made some with the cheese and some without, and the ones without turned out just fine and were very tasty.
So, here's the recipe as I made it:
MUSHROOM STRUDEL
*Notes on phyllo: if you've never used it before, you may want to know that you will need to let it sit in the refrigerator to defrost about 7 hours, then on the counter for 30 minutes or so before you use it!
Small box of phyllo pastry (I used about 10 sheets)
1/2 c butter, melted
1 egg, beaten for egg wash
Filling:
1 pound cremini mushrooms (also called Italian brown mushrooms)
1 medium onion, minced
3 T butter
1 T chicken broth (recipe called for dry sherry but I don't use alcohol)
1 T flour
leaves from 1 sprig thyme
6 T freshly grated Parmesan (optional)
Kosher salt and freshly ground black pepper to taste

Preheat oven to 400F. Spray a baking sheet with nonstick spray or line with parchment. It helps to have a large work surface for this, like your kitchen table. Have all your ingredients ready and laid out before you get the phyllo out: melted butter, egg wash, filling, and cheese.
To make the filling: cook the onion in the butter until soft. Clean your mushrooms really well and slice fairly thin. If your mushrooms are large you may want to halve them before slicing. Add the mushrooms to the softened onion and saute until mushrooms are cooked through and some of the juices have begun to evaporate. Add the chicken broth (or sherry) and cook a couple of minutes more, until most of the liquid is gone. Stir in the flour, herbs, and salt/pepper to taste and let filling cool.
To assemble strudel: You'll need 2 damp dishcloths. Place one on the table, and use one to cover the remaining phyllo sheets as you work. Take one sheet of phyllo at a time from the package and place the remaining sheets between the damp cloths. Brush one half of the sheet at a time with butter. Carefully fold the unbuttered side over the buttered side and gently smooth out wrinkles and bubbles (doesn't need to be perfect). Repeat again, buttering half and folding it over, so the sheet is folded to 1/4 the size. You'll have one long column. Here I departed from the recipe the most. You can place a spoonful of filling, and fold triangular (like a flag) all the way up the column for one strudel per sheet of phyllo, or just place a spoonful of filling and fold over once in a triangle like a turnover and cut (a pizza cutter worked great), then repeat to get several strudel from one sheet (I did the latter--more filling to phyllo ratio worked for me!). If you use cheese, sprinkle each spoonful of filling on the phyllo with the cheese before folding the dough over. Then, brush the finished strudel with the egg wash and sprinkle more cheese on top. Place folded strudel on greased baking sheet. Bake 15 minutes until browned and crisp. Serve warm.

Monday, April 4, 2011

Beignets

Ahh . . . Flashback to Spring 2007 . . .

Sitting alone at Cafe du Monde in New Orleans, enjoying their patio and people-watching on a lovely New Orleans morning. Oh, and enjoying a plateful of powdered-sugar covered beignets and a glass of fresh-squeezed orange juice. I've never tried to make beignets, but jumped at the chance to try when Our Best Bites posted a recipe during Mardi Gras a couple of weeks ago. Here are the freshly cut beignets, just before rising. And here's a kitchen equipment tip: I bought a metal ruler at Target a while ago and it's a GREAT kitchen tool for recipes like this where you're cutting dough into rectangles (or measuring dough height after rolling!). And because it's metal, I can throw it in the dishwasher after I use it. Love it.
The cooked beignets. They look like scones, but are puffed up and hollow inside.
Can you ever have too much powdered sugar? Not with these!!

Here's the recipe from www.ourbestbites.com:

BEIGNETS

1 c whole milk

1/4 c + 1 T sugar (divided)

1 scant T active dry yeast

1/4 c vegetable oil

1 tsp salt

1/2 c warm water

1 egg

3 1/2-4 c flour

Oil for frying

In small saucepan, combine milk, 1/4 c sugar, 1/4 c oil, and salt. Cook until small bubbles form around edges, then remove from heat.

Meanwhile, in a small bowl combine 1 T sugar, yeast, and water. Allow to sit 10 minutes, or until foamy.

In mixer bowl, combine milk mixture and 2 c flour. Mix 2-3 minutes, scraping bowl as needed. Add egg and mix well. Blend in yeast mixture, then add remaining flour a little at a time until a soft, slighty sticky, dough forms.

At this point, you can place the dough in a greased bowl, cover, and refrigerate up to a day. Or, you can roll the dough out. When ready to roll the dough, turn onto a floured surface and roll 1/4" thick. Use a pizza cutter to divide dough into 3x4" rectangles. Slightly separate rectangles, then cover with a clean cloth and let rise 3o minutes.

15 minutes into rising, heat your oil. You should have at least 2-3 inches of oil in a frying pan, saucepan, or I like to use a Dutch oven for less splatter. Heat oil to 350F, then fry beignets 2 or 3 at a time 1 1/2-2 minutes each side or until golden. Drain and let cool slightly on paper towel-lined plate.

Sprinkle generously with powdered sugar and serve warm. Try not to eat all 2 dozen at once . . !

Sunday, March 20, 2011

St. Patrick's Day Dinner, Part Two

I have to say WOW! this turned out so much better than I expected it to.
As you can tell from my previous post I felt a little iffy about rubbing a big piece of beef with salt and spices and smashing it under a bunch of cans in my fridge for a week.
But I highly recommend it.
The veggies, prepped and ready for their turn in the pot. As you can see from the recipe, you can choose from an assortment of veggies. I chose brussels sprouts, parsnips, and carrots. I thought we would eat those best.
Note--I don't know if I would use parsnips again. I really like them, but I prefer them roasted. Boiling them like this just didn't cook them evenly. The outsides sort of turned to mush and the woody core inside remained sort of firm which was not a pleasant affect. I liked the brussels sprouts and the carrots, though.
I also made some Irish soda bread and thought it was tasty with the meal.
Here is my lovely dinner. The meat turned out so tender and very tasty. The flavor of the spices was nicely subtle, not too strong, and it was not too salty (I was relieved to see in the recipe that you rinse the brisket before you cook it).
Definitely a keeper! Again, from Cook's Illustrated.
CORNED BEEF WITH VEGETABLES (serves 8, but I halved everything and it worked great)
1 beef brisket, corned/cured as in previous post
7-8 pounds veggies, chosen from the categories below:
Category 1 Veggies:
Carrots, peeled and halved crosswise, thin end halved lengthwise, thick end quartered lengthwise
Rutabagas (small), peeled and halved crosswise, then each half cut into 6 chunks
White turnips (medium), peeled and quartered
New potatoes (small), scrubbed and left whole
Boiling onions, peeled and left whole
Category 2 Veggies:
Green cabbage (small head), blemished leaves removed and cut into 6-8 wedges
Parsnips, prepared same was as carrots above
Brussels sprouts, blemished leaves removed and left whole
Rinse the brisket and pat it dry. Bring the brisket to boil with water to cover by 1/2-1" in a large soup kettle or stockpot, skimming any scum that rises to the surface. Cover and simmer until skewer inserted in thickets part of brisket slides out with ease, 2-3 hours (for the half-size brisket I cooked it about 2 hours, maybe a little more).
Heat oven to 200. Transfer meat to large platter, ladling about 1 c of cooking liquid over it to keep it moist. Cover with foil and set in oven.
Add vegetables from category 1 to kettle and bring to boil, cover and simmer about 10 minutes, until vegetables begin to soften. Add vegetables from Category 2 and bring to boil, cover and simmer until all vegetables are tender, 10-15 minutes longer.
Remove meat from oven, cut across the grain into 1/4" thick slices.
Serve meat with horseradish or grainy mustard (we ate it with Grey Poupon mustard, the Country Dijon kind, and it was GREAT. It added a little extra zing to the dish).
CLASSIC IRISH SODA BREAD (Note: I suggest making AND baking this while the beef is boiling, so you can use the oven to keep the meat warm while cooking the veggies)
3 c flour
1 c cake flour
2 T sugar
1 1/2 tsp baking soda
1 1/2 tsp cream of tartar
1 1/2 tsp salt
3 T unsalted butter (2 T softened + 1 T melted)
1 1/2 c buttermilk
Heat oven to 400. Whisk flours, sugar, baking soda, cream of tartar, and salt in large bowl. Work softened butter into dry ingredients with fork or fingers until texture resembles coarse crumbs.
Add buttermilk and stir with a fork just until dough comes together. Turn out onto floured surface and knead until dough just becomes cohesive and bumpy (12-14 turns, don't overknead).
Pat dough into 6" round, about 2" high. Place on greased baking sheet or in cast-iron pot (cast iron makes the crust a little crispier).
Bake until golden brown and skewer in center of loaf comes out clean (internal temp 180). Remove from oven and brush with melted butter.

Friday, March 11, 2011

Corned Beef

I've never made the "traditional" St. Patrick's day dinner of Corned Beef and Cabbage, but I've always wanted to try it. So I looked it up on the trusty Cooks Illustrated website. According to Cook's, the corned beef you buy at the grocery store is nasty. So, they suggest you "corn", or cure, your own beef. So, here goes.
You need to purchase beef brisket. I halved the recipe because it feeds 8, but here's the original recipe from cooksillustrated.com:
HOME CORNED BEEF BRISKET
1/2 c kosher salt
1 T black peppercorns, cracked (I put them in a bag and used a rolling pin to crack them)
3/4 T ground allspice
1 T dried thyme
1/2 T paprika
2 bay leaves, crumbled
1 beef brisket, 4-6 pounds, trimmed of excess fat, rinsed and patted dry
Mix all spices in small bowl. Poke 30 holes in each side of the beef brisket with a meat fork or metal skewer. Rub each side evenly with spice mixture and place in 2-gallon zipper-lock bag. Press as much air out as possible. Place brisket in jelly roll, cookie sheet, or similar pan. Place another pan on top and weight with bricks or cans. Refrigerate 5-7 days, turning once a day.
Here's my set-up with the corned beef underneath the cans.
Looks and sounds a bit motley, eh?! We'll see if it turns out!
Stay tuned . . .

Sunday, February 20, 2011

Spaghetti and (Turkey) Meatballs

I've been exploring my Christmas gift to myself: Nigella Lawson's new cookbook, "Nigella Kitchen". I really like her style of cooking and her recipes are usually good ones. Her recipe for Turkey Meatballs in Tomato Sauce was on the menu for this week.
It turned out pretty well. I like the idea of using turkey, it's a healthier alternative to ground beef or sausage for the meatballs and I found it plenty flavorful. Her idea of cooking the meatballs in the tomato sauce rather than frying them keeps the turkey moist and tender. (Although I have to admit a small part of me missed the crusty brown exterior of a fried meatball!)
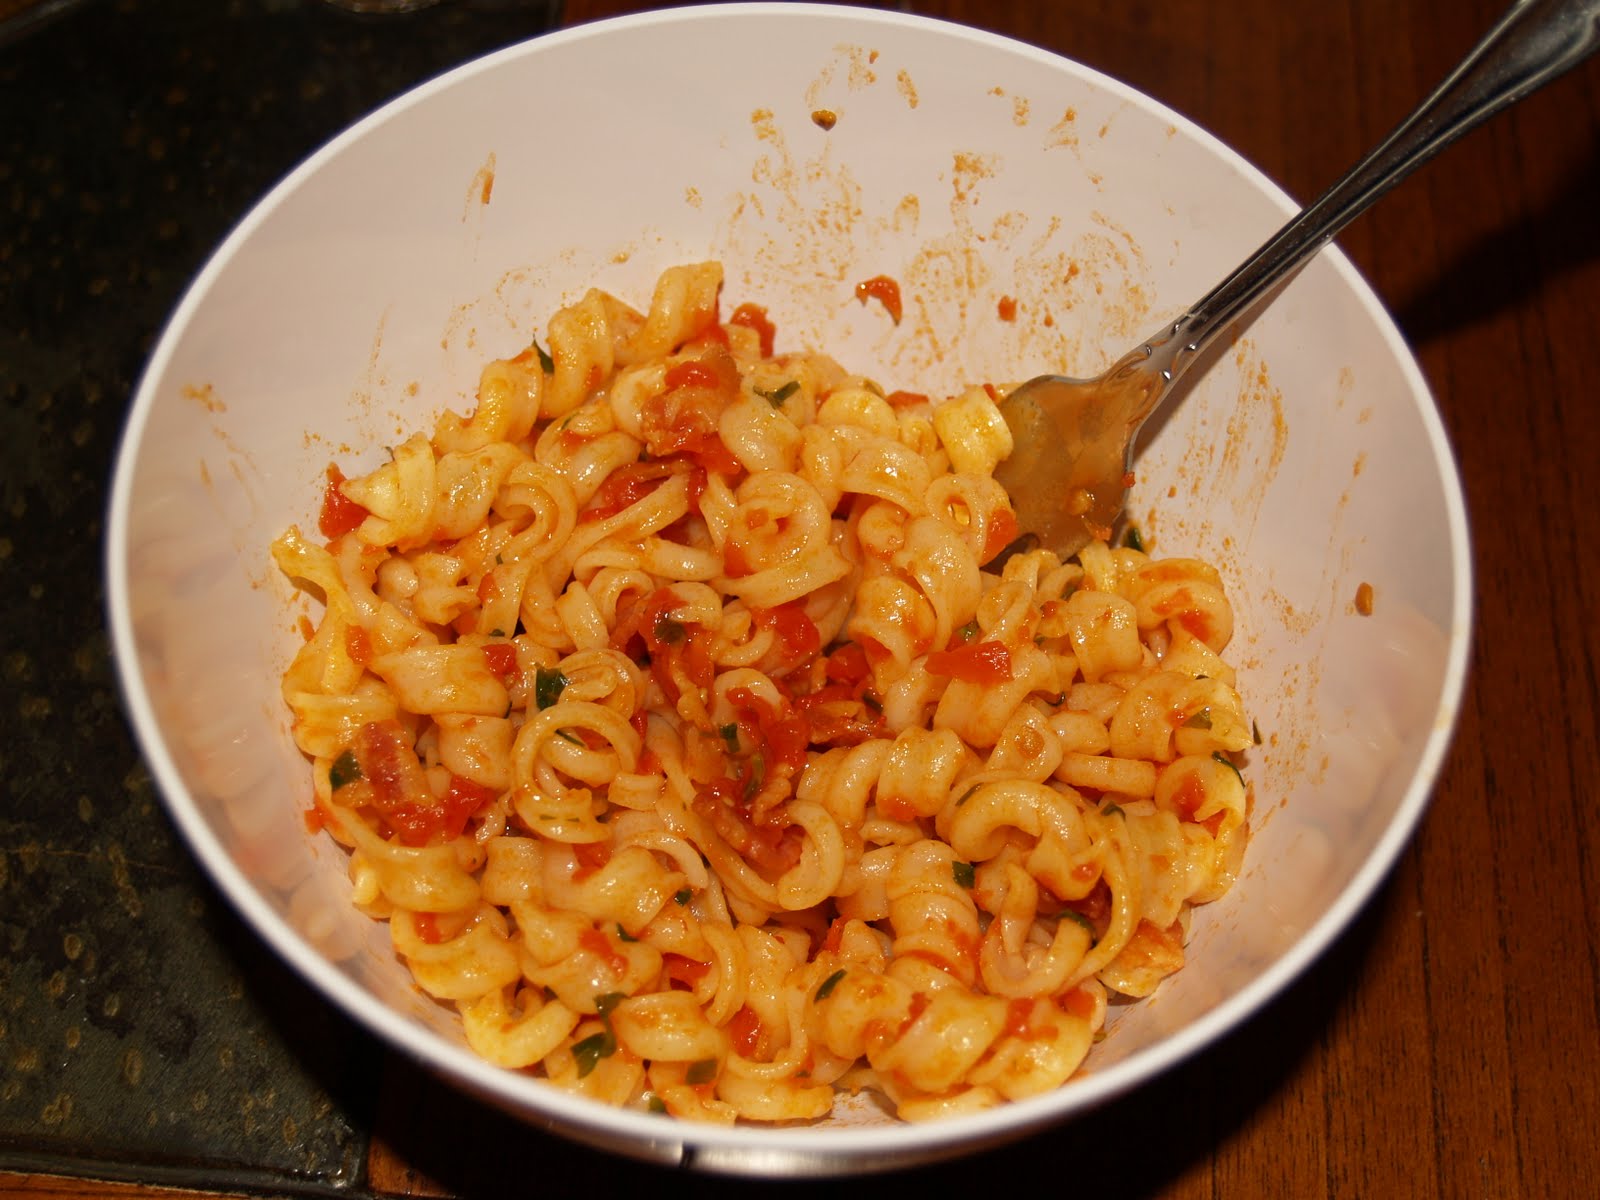
My only complaint on this recipe is perhaps the runny consistency of the sauce, even after boiling for 30-40 minutes. Likely next time I will add less water, which I have modified in the recipe. I like a nice, robust tomato sauce with my pasta. The sauce here was very flavorful, just not thick enough.
SPAGHETTI AND TURKEY MEATBALLS (modified from Nigella Kitchen)
For the Sauce:
1 medium onion, peeled and quartered
1 celery stalk, washed and quartered
2 T olive or veg oil
1 clove garlic
1 tsp dried thyme
28 oz can diced tomatoes plus 2/3-3/4 can full of water
1 tsp sugar
1 tsp kosher salt or 1/2 tsp table salt
pepper to taste
For the Meatballs:
1 pound ground turkey
1 egg
3 T unseasoned dry breadcrumbs (baking aisle or homemade)
3 T grated Parmesan cheese
2 T finely chopped onion and celery (from tomato sauce ingredients)
1 tsp Worcesteshire sauce
1/2 tsp dried thyme
Put onion and celery pieces in food processor and grind to a mush. Or, dice by hand. Reserve 2 T for meatball mixture.
In heavy large saucepan or Dutch oven, warm oil and garlic until garlic is fragrant. Add onion and celery mixture and thyme and cook at moderate to low heat, stirring occasionally, for about 10 minutes.
Add the canned tomatoes and 2/3-3/4 can full of water. Season with sugar, salt, and pepper. Stir and let it come to a boil then turn the heat down to simmer gently.
Put all ingredients for the meatballs into a large bowl, including salt to taste (I suggest about 1 tsp kosher salt) into a large bowl and mix together gently (don't overmix as it will make the meatballs dense and heavy). Use gloves if you're squeamish!
When the ingredients are mixed, use a teaspoon measure to take out generously heaped teaspoon-sized balls and roll gently between the palms of your hands. Put the meatballs on a rimmed baking sheet as you go. You should get about 50 little meatballs.
Drop the meatballs gently one by one into the simmering sauce, in concentric circles working around the outside of the pan to the inside. Let the meatballs simmer 30 minutes, until cooked through. If necessary, stir very gently once or twice, being careful not to break up the meatballs. While cooking the meatballs, bring water to boil and cook spaghetti (can also serve over rice).
Ladle meatballs and sauce over hot pasta and enjoy!

Friday, February 18, 2011

Red Velvet Cake

I've always thought Red Velvet Cake sounded so luxurious. With the proliferation of the trendy "gourmet cupcakes" I think red velvet has come back into fashion a little. In any case I've been hearing/reading about it in my foodie mags. So I decided to give it a try for a fun, festive Valentine's Day dessert.
I actually had a tough time finding a recipe, there are not as many recipes out there as I thought there would be! But I was saved by my favorite foodie blog, www.smittenkitchen.com
I modified the recipe slightly, which I will note below. Red has always been my favorite color and I love that this cake is red! I also love that it's chocolate. The best of both worlds. Some of the recipes I looked at had a puny Tablespoon or two of cocoa. This recipe has 1/2 cup. But, even if you're not a huge chocolate cake fan it's not too strong. Believe me.
The texture of this cake (moist but still with a nice firm crumb) was perfect, as was the flavor. I'm not a huge fan of cream cheese frosting, but it fit well with this cake and the amounts were proportional (enough frosting, not too much). We'll definitely be making this again sometime . . .
RED VELVET CAKE
Adapted from www.smittenkitchen.com
**Note: I halved the amount of red food coloring. The original called for 6 T. My cake was still plenty red enough for me. I also baked it in 2 cake pans instead of the 3 called for in the recipe. Mostly because I don't have 3 cake pans. I then cut each layer in half sideways to have 4 layers to look fancy with frosting between!)**
1 T soft unsalted butter
3 1/2 c cake flour (really important, don't substitute)
1 1/2 tsp salt
2 c canola oil
2 1/4 c granulated sugar
3 large eggs
2-3 T red food coloring (I bought the 1.? oz bottle of red coloring and used it all, it ended up being around 2 1/2 T)
1 1/2 tsp vanilla
1 1/4 c buttermilk (can substitute 1 1/8 c milk+2 T lemon juice, let stand 5 min)
2 tsp baking soda
2 1/2 tsp white vinegar

Preheat oven to 350. Use butter to thoroughly grease bottom and sides of 2 (or 3 if desired) round 9" cake pans. Line bottoms of pans with parchment or wax paper and smear with additional butter or spray with nonstick spray.
Whisk cake flour, cocoa, and salt in small bowl.
Place oil and sugar in bowl of electric mixer and beat at medium speed until well-blended. Beat in eggs one at a time. Running machine on low, slowly add red food coloring so it won't splash too much. Add vanilla. Add flour and buttermilk alternately in 2 batches. Scrape down bowl and beat just long enough to combine.
Place baking soda in small dish, stir in vinegar, and add to batter with machine running. Beat for 10 seconds.
Divide batter among pans, place in oven, and bake until cake tester comes out clean. For 3 pans, 40-45 minutes. For 2 pans, about 55-60 minutes. Let cool in pans 15-20 minutes then remove from pans and peel off parchment. Cool completely before frosting.
CREAM CHEESE FROSTING:
8 oz cream cheese at room temperature
1/2 c (1 stick) butter at room temperature
3 c powdered sugar
1 tsp vanilla

Beat cream cheese and butter until fluffy, then add sugar and vanilla. Beat until well combined.

Thursday, February 3, 2011

Pasta and Tomato Sauce with Bacon and Parsley

Looking for a tasty way to sauce up some of our favorite Wegman's pasta, I ran across this recipe.
This pasta is the real thing, imported from Italy. It's our favorite.
Nothing like a little bacon to make everything so very tasty!
The recipe is from cooksillustrated.com.
I'm sure this would be great on any pasta you can find, although I like the shape of these (sort of corkscrews) to grab hold of the bits of tomato and bacon.
PASTA AND TOMATO SAUCE WITH BACON AND PARSLEY
1 (28-oz) can diced or whole tomatoes packed in juice,
or one quart bottle home-canned tomatoes
4 oz bacon, cut into 1/2" pieces
2 medium cloves garlic, peeled
1/2 tsp red pepper flakes (trust me, the little bit of heat is subtle but great)
2 T chopped fresh parsley leaves (I used flat-leaf)
1/4 tsp sugar
1 1/2 tsp salt
3/4 pound pasta (an awkward amount, but more dilutes the sauce)

1. Drain and reserve liquid from tomatoes. If using whole or home-canned tomatoes, dice tomatoes by hand or pulse gently 3 times in food processor to roughly chop. If necessary add reserved liquid to tomatoes to total 2 cups (my chopped canned tomatoes made 3 cups without liquid). Discard remaining liquid.
2. In 10" skillet, fry bacon over medium-high heat until crisp and brown. Transfer to paper towel-lined plate, pour off all but 2 T bacon fat from pan.
3. Process garlic through press or dice, into small bowl. Stir in 1 tsp water. Heat garlic/water and red pepper flakes in bacon fat over medium heat about 2 minutes (garlic should not brown). Stir in tomatoes and simmer until thickened slightly, about 10 minutes. Stir in parsley, bacon, sugar, and 1/2 tsp salt.
4. Meanwhile, cook pasta until al dente in large pot of boiling, salted water. Reserve 1/4 cup of cooking water, drain ipasta, and transfer it back to cooking pot. Mix in reserved cooking water, sauce, and remaining 1 tsp salt. Cook together over medium heat for 1 minute, stirring constantly, and serve immediately.